Friday, December 1, 2017

Bus Conversion Part 4: Sub Floor!


"If you put down a good, solid foundation and build one room after another, pretty soon you have a house."
             ~Rod Dixon

The sub floor.  The floor of the bus consisted of a rubber mat glued to a thick wooden floor, screwed in turn to the metal sub floor.  The wood was in good shape and I was minded to leave it be but after doing some research I decided otherwise.  There were very clear warnings about doing so.  I figured it would be much better if be safe and so I stripped her down to the sub floor.  I didn't have the big rust holes and issues that the warnings mentioned but there was the potential to be so I got to work.

Here she is all naked and gross...

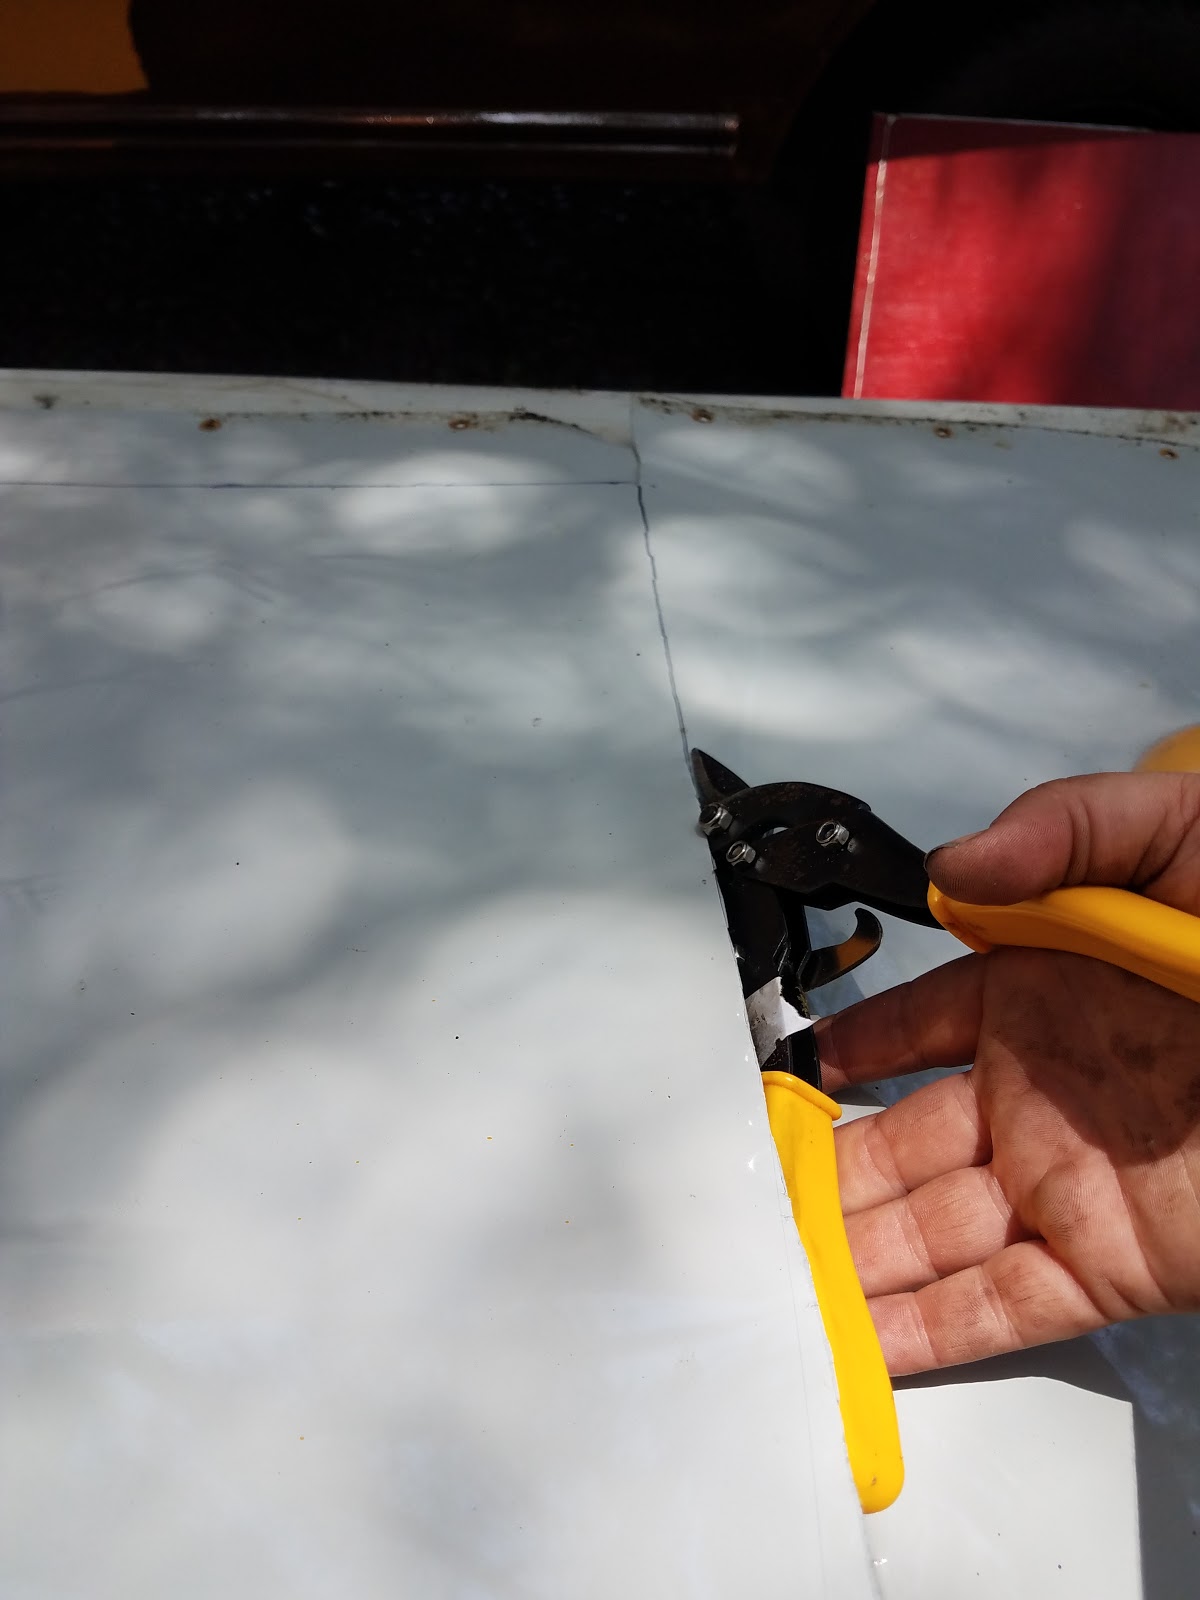
Many of the old bolt shafts that once held the seats still stuck through the floor and needed to be removed.  There were also all the screw holes from those securing the old wood floor the sub floor.  Once I succeeded in removing any errant screws and bolts, the floor had to be properly cleaned to prepare for the hole patches and a coat of primer.


The cleaning was a grueling process that consisted of grinding clean the metal surface with a rough wheel attachment and a corded drill.

before                                                         half way done

The first night I made it half way before running out of energy and stamina.  By the end I was exhausted, sore, and Disgusting.  I attempted to get pictures of the deep layer of gritty oily metal dust and grime covering me.  The pictures really don't show the level of it.  I was positively GREY.


It was intensely satisfying though.  The difference was extreme and I finally felt like I was starting to make progress on the interior of the bus.  Even though I was exhausted and disgusting, it took me forever to go back inside and get cleaned up.  I couldn't stop looking at it, and I was eager to get back to it!
The grinding continues...

I had picked up some fresh wheels and the work was flying!

All done and sooooo preeeeettty!!!!!  

The holes were filled with Bondo on a patch of window screen material, and then the whole floor liberally coated with a primer of Rustoleum.

Next a thin layer of vehicle insulation...

Looks so cozy like this!

And finally, the new wood floor.  

With a brand new layer of treated 3/4" ply I was finally at the building stage.  I had purchased only two pieces knowing I'd need more but not how much.  Turns out one more would do it, but that piece can wait.  Now I turned my attention to framing out the bed.  The holidays loomed and visiting family would need places to sleep.  Moving back out to the bus, at least at night, was about to become a necessity...


Wednesday, November 29, 2017

Bus Conversion Part 3: Ok lets try that again

"To err is nature, to rectify error is glory."
                                                        ~ George Washington

I do try to learn from my mistakes.  As I mentioned in the last blog post, I decided to cut the windows out of the old sheet metal ceiling panels for better weather resistance.  Problem is they still needed a backing as the metal was not rigid enough on its own.  So yes, I did back them with wood BUT this time it was treated wood with an extra couple coats of Rustoleum just in case, and no part of the wood is exposed to the air.  Seems to be working out better this time :)


Cutting the  wood backing...

All lined up and painted!

My work table.  It was white when I bought it, I swear!

Time for the other side...

Using Flexshot for EVERYTHING!  They ought to give me a sponsorship considering how much of the stuff I use!


Now that the side windows are finished again it's time to start on the back.

Holy geez, what is that screw made out of!?!  That was a quality screwdriver!!!

Door had to come off for reasons.


And one of those reasons is all the crazy rust on the hinges!


Better to paint it now before I put the window panels in.

And some fresh black paint on the hinges too.

So pretty :D

A ways to go on the paint job but it's starting to come together!

About this time between work, grinding the roof bolts, and cutting all those panels out by hand, the arthritis in my hands went into overdrive and my wonderful bestie +Sierrena Wheat took over the cutting to give my hands a rest.

Somehow I failed to get a picture of the back once it was all finished so I'll have to add that to a later post but for now I have to get back to work...


Stay tuned for Bus Conversion Part 4:  Sub floor!

Sunday, July 23, 2017

Bus Conversion Part 2: Bits and Pieces

"A dream doesn't become reality through magic; it takes sweat, determination and hard work."   
                                                                                                                                     ~ Colin Powell


Now that all the wiring has been ripped out from the back of the bus and the remains of the old insulation has been scraped away it's time to rewire the rear end for working driving lights.  Here we are, ready to get started.

First all the old corroded lights must be removed.

Nervous bus is nervous!

The workstation

Lloyd and Bro John are my knights in shining armor.  They both work for Firestone and actually know something about vehicles and their wiring.
             

Now I really thought I got more pictures of this process and the end result but apparently I did not, cause I'm a slacker.  Suffice to say we have some new working lights with much simpler wiring.  Yay!

Next up, the roof!  The seams of the roof leak a bit in some random places so before I can starting putting anything back in the bus I have to make her waterproof.  The old crusty sealand in the seams and around the bolts needs to go first and then new sealant can be applied.  This means grinding.  Lots and lots of grinding.

So many bolts!

Its only getting harder, I'm grimy and sweaty, my arms and shoulder are aching...
why is this so HARD??
...oh...
The best thing about this, when I went to ACE to get a new one I showed them this and the guy exclaimed "What are you doing, T-Rex dental work?!?"  Totally worth all the extra pain I put myself through before realizing my grinder wheel was toast.


Work is going MUCH faster now!

 All done and resealed!  Happy monkey!

The next part of the weather proofing is to replace the wood windows that started molding immediately in this super humid florida climate.  Remember all those ceiling panels I tore out.  Time to repurpose!

 While I was at it I figured I should get this side painted too..


New metal windows all cut out and painted, waiting to get installed.  So pretty!!

The pace is picking up so stay tuned, there's more to see but it'll have to wait til she gets back from the shop getting her brand new fuel pump installed...


To Be Continued...Again...