Wednesday, November 29, 2017

Bus Conversion Part 3: Ok lets try that again

"To err is nature, to rectify error is glory."
                                                        ~ George Washington

I do try to learn from my mistakes.  As I mentioned in the last blog post, I decided to cut the windows out of the old sheet metal ceiling panels for better weather resistance.  Problem is they still needed a backing as the metal was not rigid enough on its own.  So yes, I did back them with wood BUT this time it was treated wood with an extra couple coats of Rustoleum just in case, and no part of the wood is exposed to the air.  Seems to be working out better this time :)


Cutting the  wood backing...

All lined up and painted!

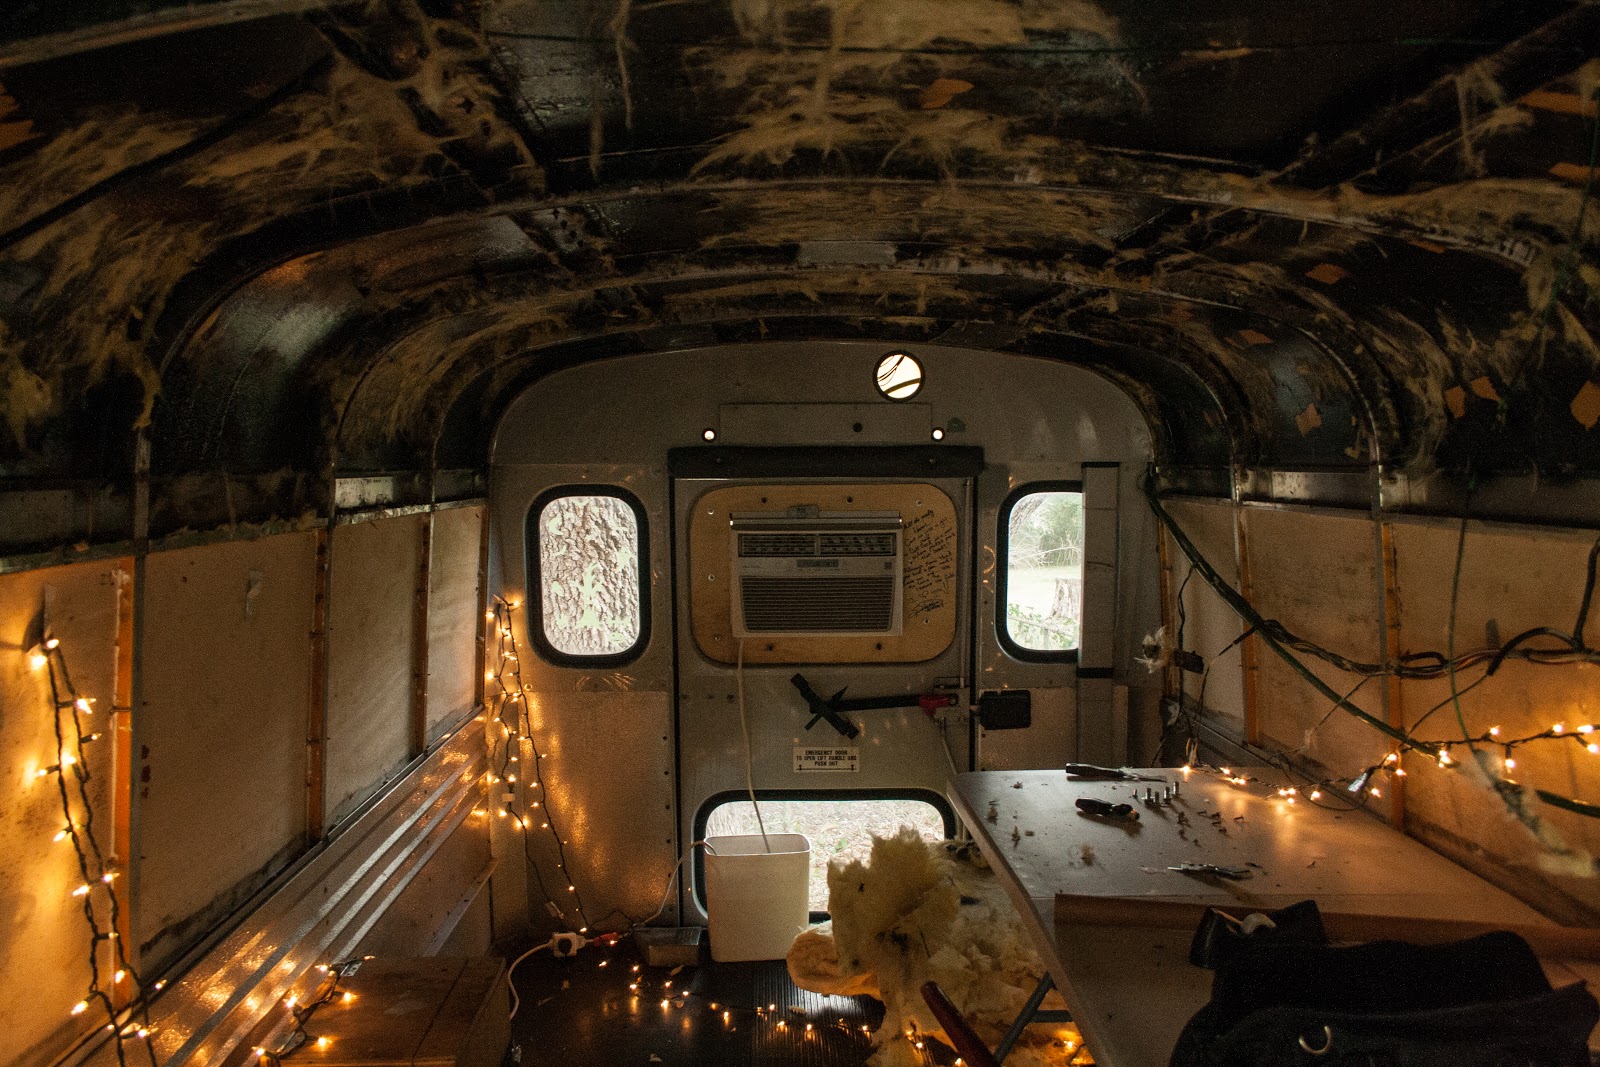
My work table.  It was white when I bought it, I swear!

Time for the other side...

Using Flexshot for EVERYTHING!  They ought to give me a sponsorship considering how much of the stuff I use!


Now that the side windows are finished again it's time to start on the back.

Holy geez, what is that screw made out of!?!  That was a quality screwdriver!!!

Door had to come off for reasons.


And one of those reasons is all the crazy rust on the hinges!


Better to paint it now before I put the window panels in.

And some fresh black paint on the hinges too.

So pretty :D

A ways to go on the paint job but it's starting to come together!

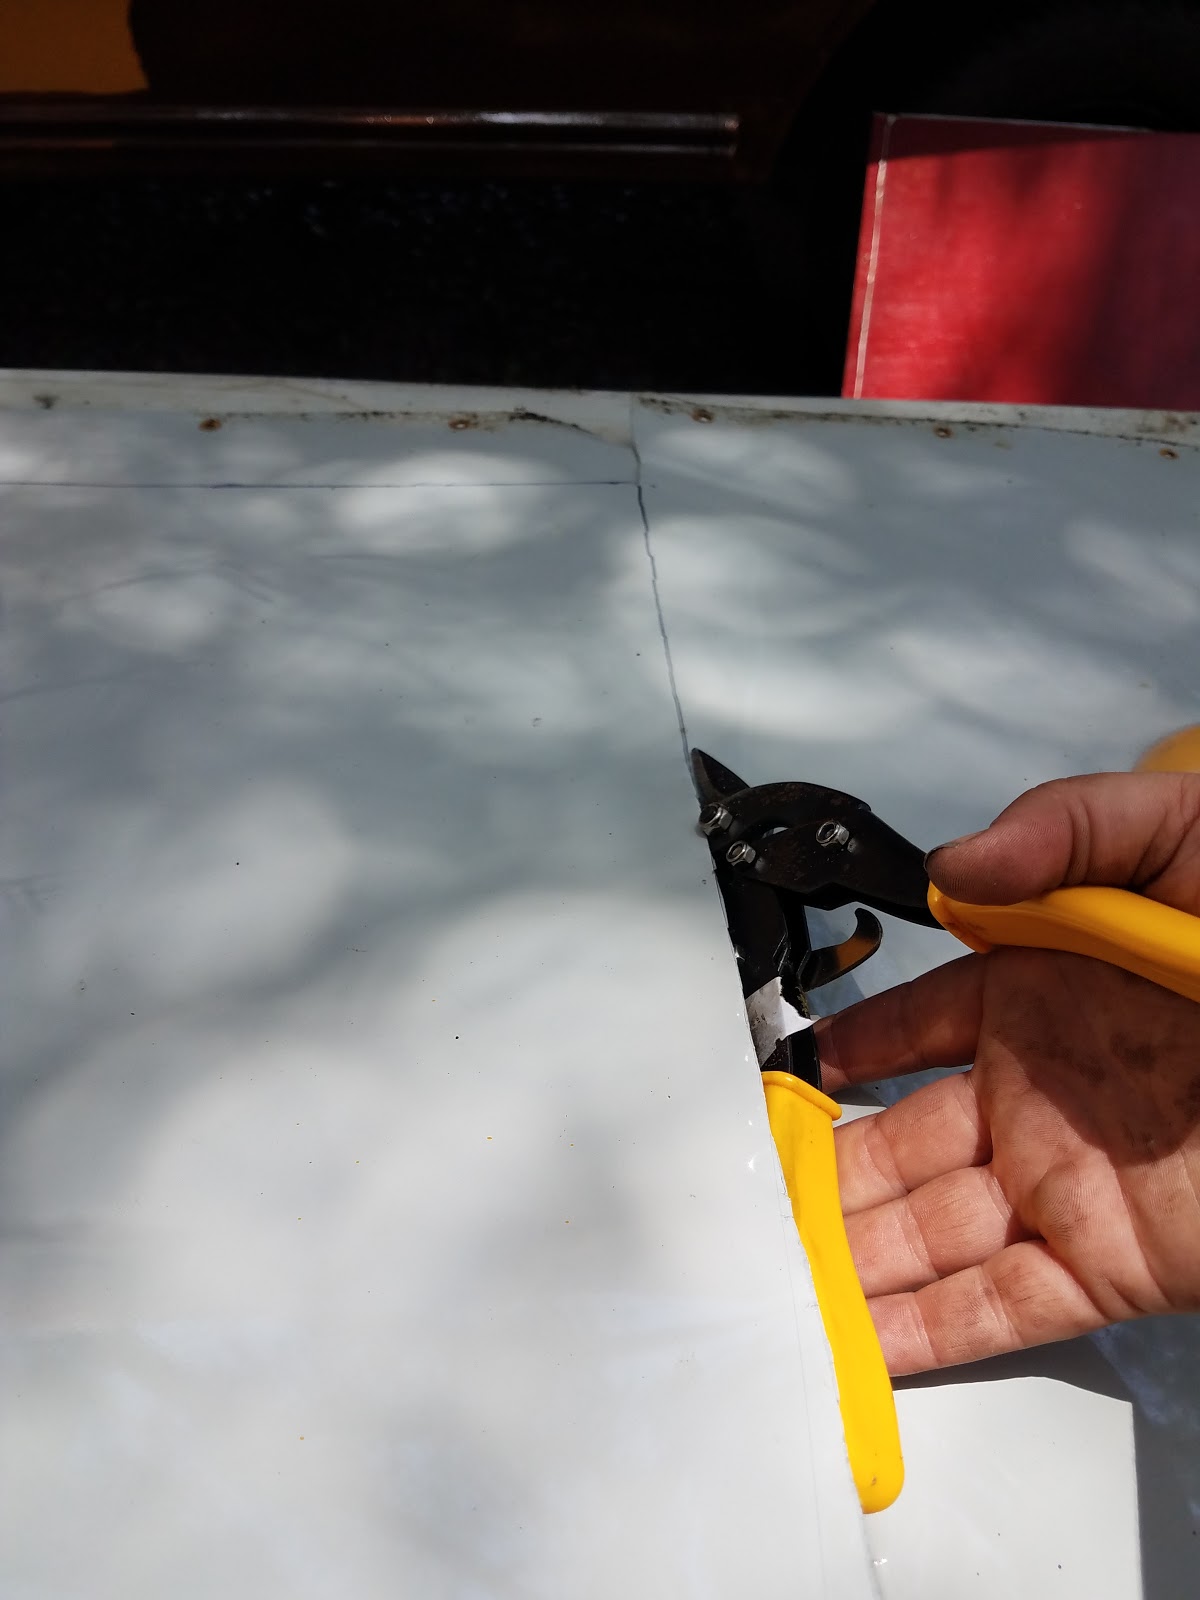
About this time between work, grinding the roof bolts, and cutting all those panels out by hand, the arthritis in my hands went into overdrive and my wonderful bestie +Sierrena Wheat took over the cutting to give my hands a rest.

Somehow I failed to get a picture of the back once it was all finished so I'll have to add that to a later post but for now I have to get back to work...


Stay tuned for Bus Conversion Part 4:  Sub floor!

Sunday, July 23, 2017

Bus Conversion Part 2: Bits and Pieces

"A dream doesn't become reality through magic; it takes sweat, determination and hard work."   
                                                                                                                                     ~ Colin Powell


Now that all the wiring has been ripped out from the back of the bus and the remains of the old insulation has been scraped away it's time to rewire the rear end for working driving lights.  Here we are, ready to get started.

First all the old corroded lights must be removed.

Nervous bus is nervous!

The workstation

Lloyd and Bro John are my knights in shining armor.  They both work for Firestone and actually know something about vehicles and their wiring.
             

Now I really thought I got more pictures of this process and the end result but apparently I did not, cause I'm a slacker.  Suffice to say we have some new working lights with much simpler wiring.  Yay!

Next up, the roof!  The seams of the roof leak a bit in some random places so before I can starting putting anything back in the bus I have to make her waterproof.  The old crusty sealand in the seams and around the bolts needs to go first and then new sealant can be applied.  This means grinding.  Lots and lots of grinding.

So many bolts!

Its only getting harder, I'm grimy and sweaty, my arms and shoulder are aching...
why is this so HARD??
...oh...
The best thing about this, when I went to ACE to get a new one I showed them this and the guy exclaimed "What are you doing, T-Rex dental work?!?"  Totally worth all the extra pain I put myself through before realizing my grinder wheel was toast.


Work is going MUCH faster now!

 All done and resealed!  Happy monkey!

The next part of the weather proofing is to replace the wood windows that started molding immediately in this super humid florida climate.  Remember all those ceiling panels I tore out.  Time to repurpose!

 While I was at it I figured I should get this side painted too..


New metal windows all cut out and painted, waiting to get installed.  So pretty!!

The pace is picking up so stay tuned, there's more to see but it'll have to wait til she gets back from the shop getting her brand new fuel pump installed...


To Be Continued...Again...

Friday, January 20, 2017

Bus Conversion Part 1: Making Messes


"You dont have to  be great to start, 
but you have to start to be great."  
                                     ~  Zig Ziglar

After a lengthy hiatus to relocate and get my head back on straight I am happy to announce the resumption of my promised adventures!  

Bus conversion Part 1:

First of all, isnt she pretty?


Ok ok, shes a bus. I get it.  But the potential!!


 Step 1: painting prep.  Gotta take off all the OH GOOD LORD DID YOU KNOW JUST HOW MUCH STICKERS AND REFLECTIVE TAPE GOES ON A SCHOOL BUS?  Damn this stuff is sticky.  Friendly neighbor suggested using WD-40 to remove adhesive...it helped...some...

So...
 Many...
 Stickers...
 Everywhere!!!

 Three months later most of the stickers are finally off and we start sanding.  My best friend and godson are helping me for my birthday.

Then my goddaughter came home from school and joined in.

The most urgent step upon arriving in Florida was covering the windows.  (Most of them were broken by a druggie in Brooklyn before I left.)  I removed the old frames and then cut out 1/2 inch wood panels to fill the holes.  I gave one face and all the edges a few thick coats of red Rustoleum outdoor paint, bolted in the new windows, and sealed the edges with allpurpose waterproof calk.  

Progress was very slow and sporadic at this point but I finally used acetone on the stubborn (near impossible) SCHOOL stickers and then after realizing how absurdly huge of a task hand sanding the ENTIRE bus would be with my besties little palm sander and my two sanding blocks I decided to try out some chemical sanding stuff.  Should have done that MUCH sooner.  After covering the bus (and subsequently myself) with harsh chemicals, I gave her a good scrub with a vinegar/bleach/water mix that was recommended for a pre-paint deep clean and got to the fun part!

I had to stop working on the first coat (as you can see) due to florida winter weather patterns, so I move inside the bus.  I spent a fair amount of time waiting to start the inside demo due to my complete lack of knowledge of wiring and my fear of screwing something up.  I finally got over that and just ripped it all out (the back end stuff that is) as well as the ceiling panels and old insulation.

Pretty new color and pile of gak!
Yea, still working on this side...

Interior after ceiling panels and insulation removed.  See the wires all hanging down on the right?

They all led to this electrical panel...

All the crazy wires...

Yea, I tore that crap out.


And that's when I started to understand how it all went together...and just how much I still had to take apart...

To Be Continued...


Sunday, May 8, 2016

The next adventure is about to begin!


A ship in the harbor is safe
but that's not what ships are for.
                                  ~John A. Shedd


A handful of weeks ago I was returning from a crazy whirlwind trip to Pensacola by way of Charlotte, NC and I had an epiphany.  I realized I was happiest when I had the freedom to roam.  I also realized the best way I could achieve that would be to create a mobile living arrangement and free myself from the constraints of a lease and all that comes with it.  

The beginnings of an idea began to form in my mind.  I started to research.  I got discouraged.  I researched some more.  I got excited.  I researched even more and I got a plan.  I needed to find a vehicle that I could convert to a livable space but that I could reasonably afford.  Also it needed to be small enough that I could still drive around and park in the city.  The solution was everywhere around me.  In traffic every morning and afternoon and parked on the streets in every neighborhood.  

It didn't take me long to find a supplier, and once I settled on a specific one with the help of the lovely salesperson, I just needed to gather the funds.  All of the financing options listed on the company's website were for business only so I turned to my bank.  It was a shot in the dark and I didn't expect it to work but I went ahead and applied for the loan.  Worst they could do is say no, right?  

Within hours they had responded asking for some clarification.  I called them back and answered some questions.  They said there was a good chance (Woah, seriously?!?!) and I'd get a final answer within 24 hours....

Ladies and gents, I'd like to introduce you to the official next step in my adventure!!!


 The full conversion will take some time but I promise to take you along for that ride as well and fully document every step.  Conversion begins in roughly 2 weeks...:D